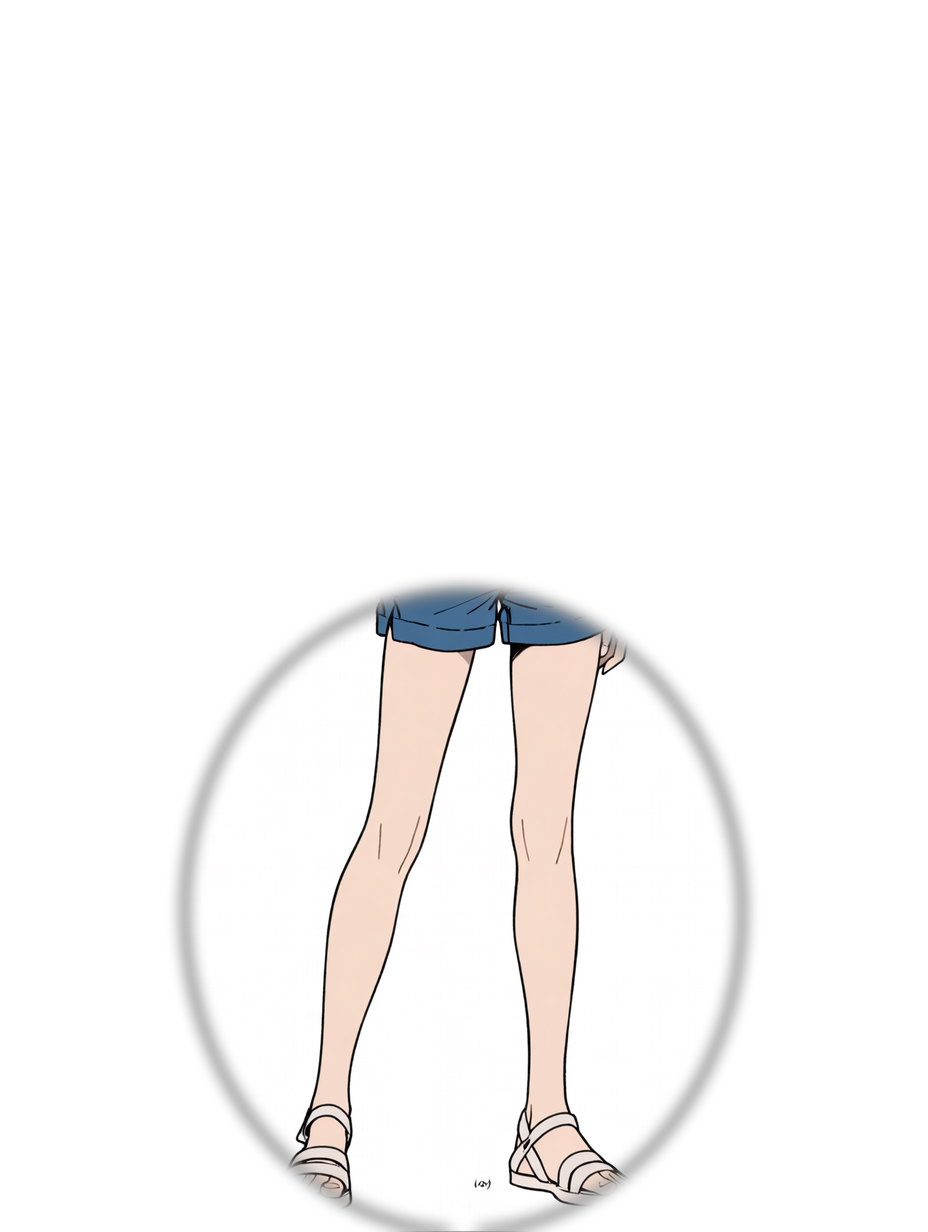
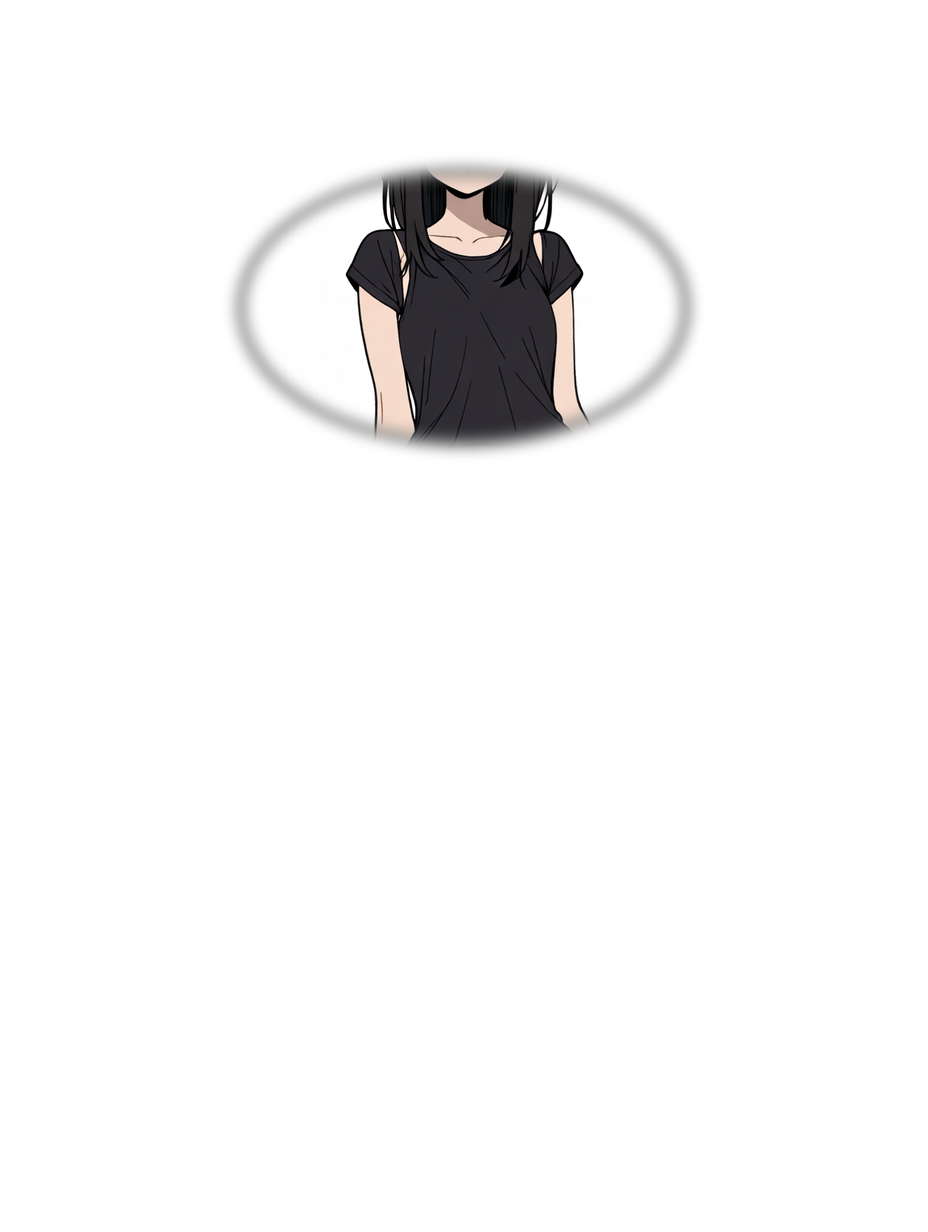
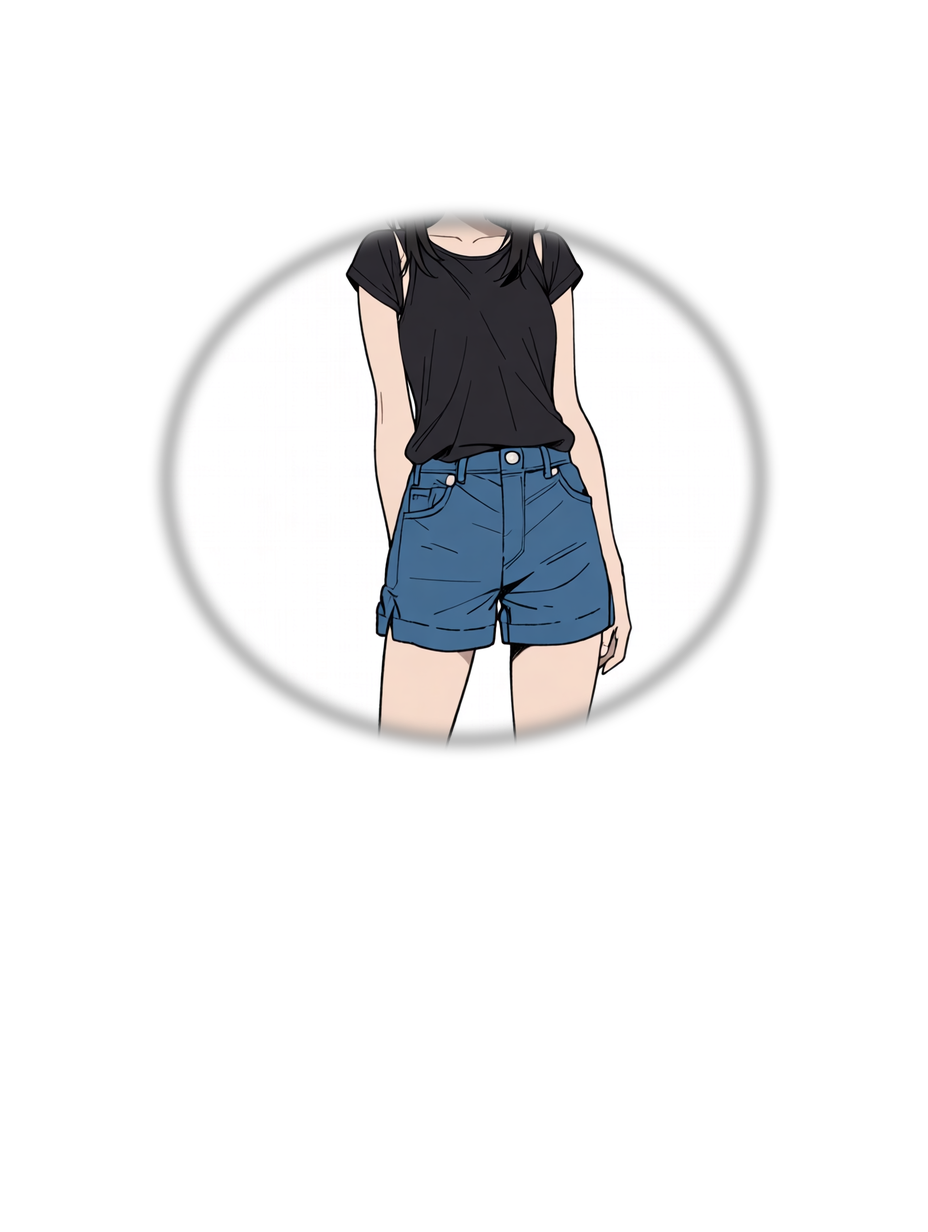
What Live2D Parts Separation AI Does
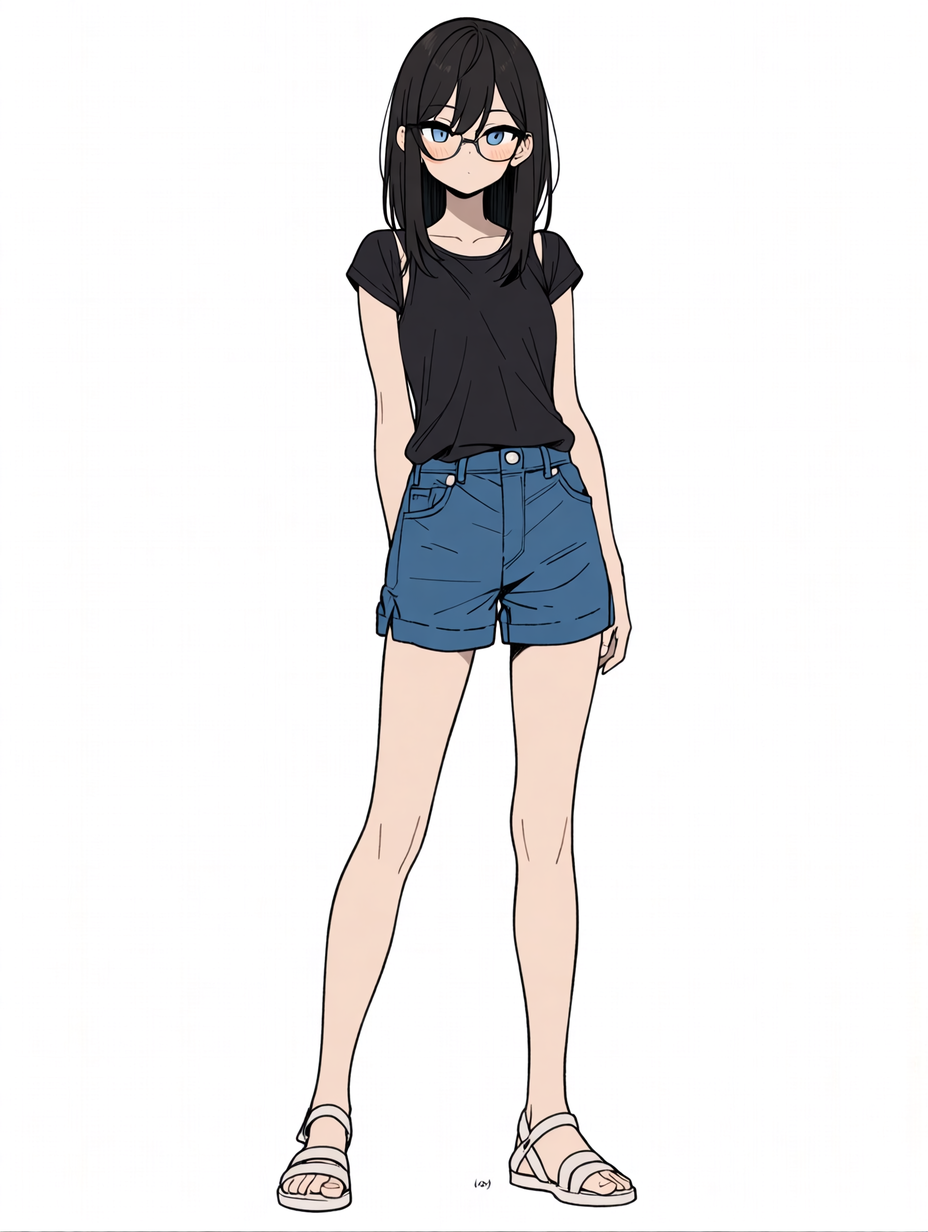
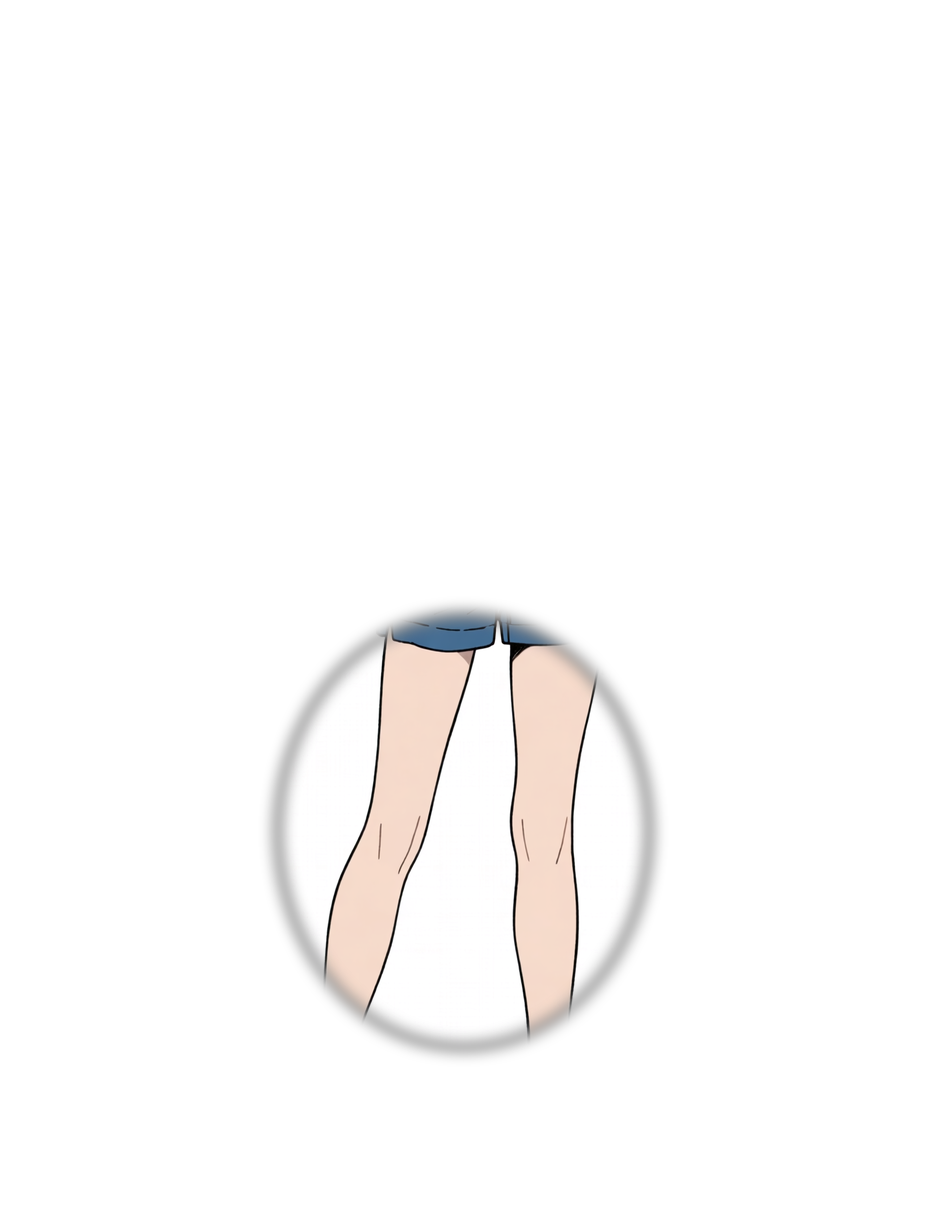
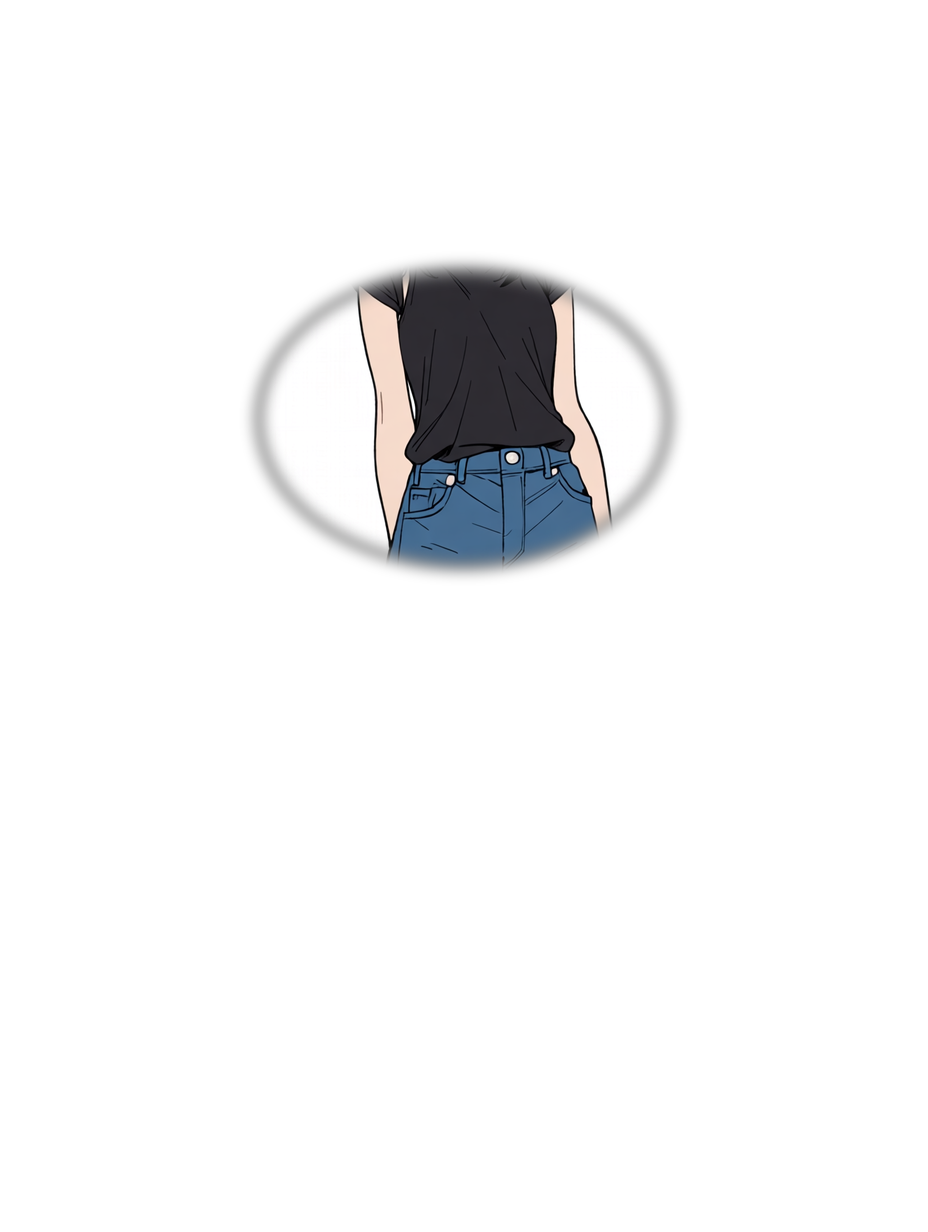
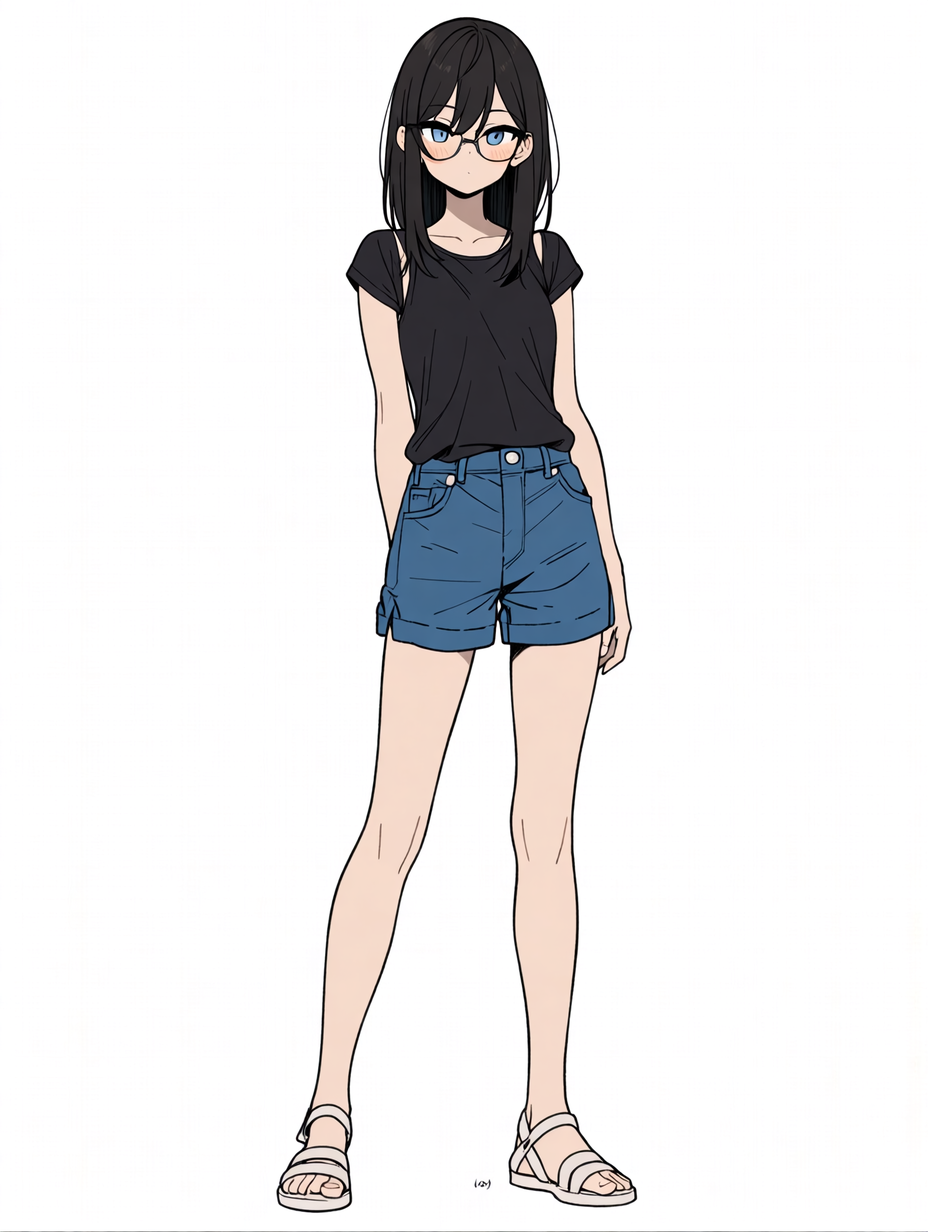
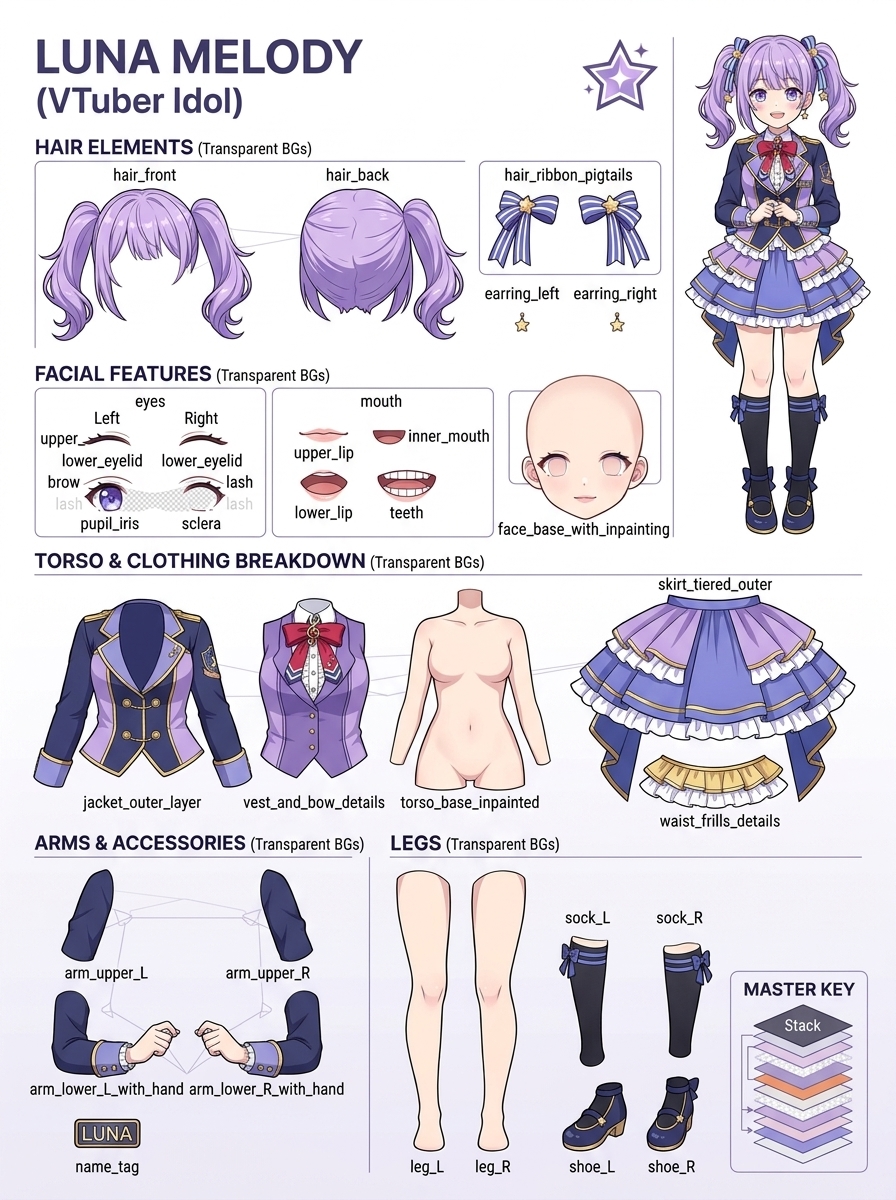
A finished character illustration is usually a single flat image. A rigger, animator, or game artist needs its hair, face, eyes, clothing, arms, and other pieces on separate transparent layers. Character parts separation turns that one image into a workable stack while keeping each piece aligned to the original canvas. Our live2d parts separation ai eliminates the repetitive tracing that often begins a Live2D project, saving hours of manual labor.
Image Layered is designed around that handoff. Upload a front-facing anime character illustration, choose your working resolution, set a seed when you want repeatable runs, and decide whether paired parts should be split left and right. Our auto parts separation for live2d acts as your comprehensive psd to live2d ready generator, leaving artists in full creative control.
Prepare Art for Live2D Cubism
Live2D artists need more than an image with its background removed. Hair overlaps eyebrows and eyes; the cheek or forehead may be hidden under bangs; collars and sleeves cover the neck or torso. A useful Live2D parts separation result needs clear silhouettes, transparent edges, sensible layer order, and enough hidden-area reconstruction to support XYZ head rotation.
After processing, review every layer in our interactive workbench. Rename ambiguous pieces, check eye and mouth groups, and confirm that front hair sits above the face while back hair remains behind. This review helps keep a PSD understandable when moving from art to Live2D Cubism mesh generation.
Resolution, Seed, and Paired Parts
The resolution setting controls the image scale sent to the layer decomposition engine. The 768 option is a sensible starting point for quick previews, while 1024 and 1280 provide ultra-crisp line art fidelity for production VTuber models and high-resolution art assets.
The seed gives the model a repeatable starting point for deterministic inference. The paired-parts option asks for left and right arms, eyes, and ears as separate layers when they can be distinguished, making symmetrical rigging in Live2D and Spine far more efficient.
Use One Workflow for Live2D and Spine
Live2D Cubism and Spine both rely on artwork that can be positioned and deformed as separate pieces, but their rigs and conventions differ. Image Layered keeps the source canvas and transparent parts aligned so artists can adapt the stack to both workflows.
Use a Live2D naming style for facial features, eye movement, and hair physics; for Spine, organize torso, limbs, and clothing around your skeletal bones. Export a layered PSD for Live2D or transparent PNG slices for Spine attachments.
Export a Layered PSD and Transparent Assets
A genuine layered PSD gives artists a familiar format for final cleanup in Photoshop or Clip Studio Paint and for importing directly into Live2D Cubism. Transparent PNG layers are also available in a ZIP archive for game engines and sprite sheets.
Check the composite preview and each isolated layer before export: look for fine hair strands, eyelashes, and clean occlusion boundaries. Having clean layers ready saves days of tedious manual prep work.
Who Benefits from an AI Parts Workflow
Independent VTuber modelers use AI parts separation to spend more time on mesh deformation, expressions, and physics instead of outlining every strand by hand. Illustrators can offer high-margin Live2D-ready PSD packages alongside standard illustration commissions.
Indie game studios can separate batches of visual novel sprites and 2D combat characters on fractional budgets. Spine animators can separate illustrations into editable components before skinning and bone weight rigging.
Choose Source Art That Separates Cleanly
Clear source art makes character parts separation more reliable. A single character on a plain or transparent background produces the cleanest layers. Use the highest resolution available and avoid heavily compressed screenshots or busy scenes with multiple overlapping figures.
A front or three-quarter pose with visible arms and accessories gives the model the clearest evidence for boundaries and depth order. Treat automated separation as your high-efficiency first pass that gives you hours of saved painting time.
Review Boundaries Before You Rig
Inspect the layer stack against the original composite at both fit-to-canvas and close zoom. Toggle each part to spot fine details like ribbon edges, eyelashes, and hair highlights. Check that all pieces share the original canvas dimensions for zero-offset alignment.
When needed, apply minor line art touchups or custom brushes in Clip Studio Paint. This inspection turns automated parts separation into a dependable production handoff rather than a guessing game.
 Image Layered